
One of the defining characteristics of Tesla’s interior design is the large center-mounted touchscreen display. In the Model S and Model X, the vertically oriented display measures 17” diagonally and includes controls for all vehicle systems. The top row of Tesla’s user interface displays various car-control applications: Media, navigation, calendar, energy usage, web browser, camera, and phone.
An advantage of this computerized in-car control system is the ability to push new features and updates over the in-car 3G and LTE data connections.
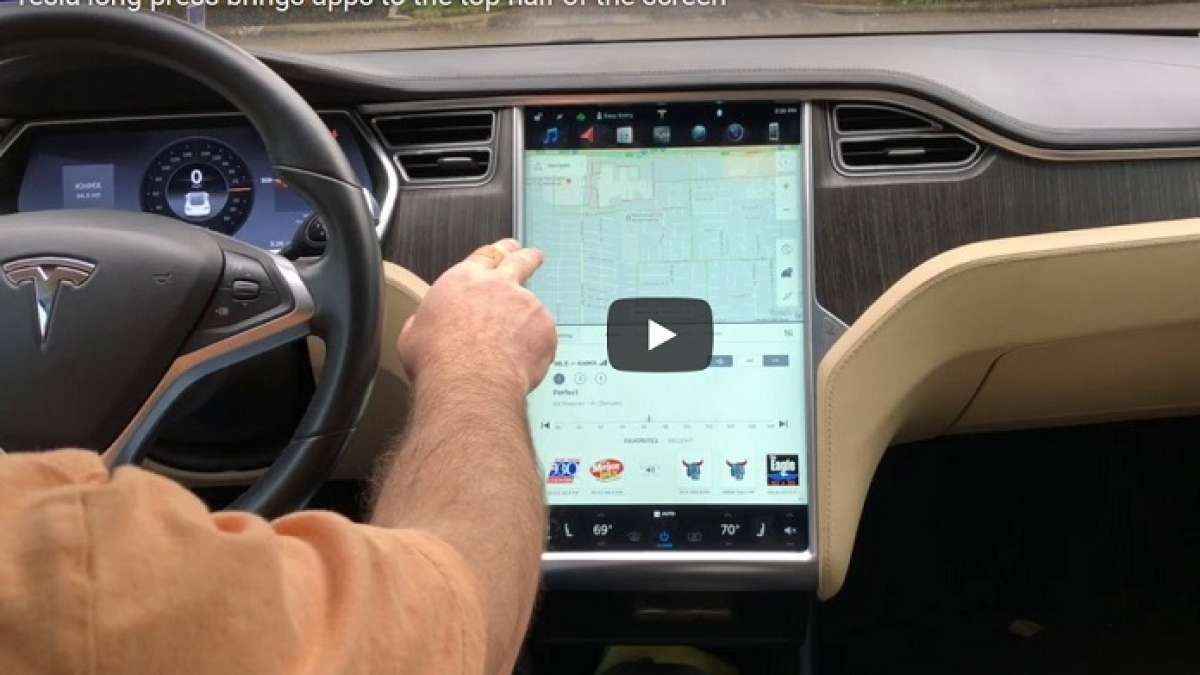
One such UI update altered the behavior of the top row application buttons. In earlier versions of the Tesla operating system, a single-touch on any of the application icons displayed that application on the top half of the screen. The current version displays some applications like navigation and camera on top, and displays other applications like media, energy, and phone, on the bottom.
To make one of the “bottom default” applications to appear on top, you can press-and-hold, or “long press” on the application icon. This is helpful for drivers that want media or phone to appear on the top half of the screen and closer to eye level. The “long press” can also be used to drag the navigation and camera applications to the bottom half of the screen.
Some drivers may like the camera displayed on the lower half like a second rear-view mirror. Others may prefer the navigation screen on the lower half, tucked away when not actively navigating to a specific destination.
Also see this story discussing how Tesla Autopilot works and what you shouldn't do when driving a Tesla vehicle.
If you have any cool Tesla tips or suggestions, please comment them below for discussion or send them to Torque News using our Contact Us page.
Set Torque News as Preferred Source on Google
Follow us today...


Comments
They completely missed the
Permalink
They completely missed the actual functionality. When you long press you get two boxes that pop up. They represent the top and bottom half of the screen. So you long press, move your finger to the top or bottom and release. You can also press an icon, then drag your finger to the actual top or bottom half of the screen, and release. That's where the app will open.
Why does his dashboard screen
Permalink
Why does his dashboard screen (above the steering wheel) look like that? Or, i guess, how does he make it look like that?
This is an older, pre
Permalink
In reply to Why does his dashboard screen by Arnold (not verified)
This is an older, pre-autopilot Model S. Newer, autopilot-enabled cars have a different display in that space. There is no way to configure it that I'm aware of.