
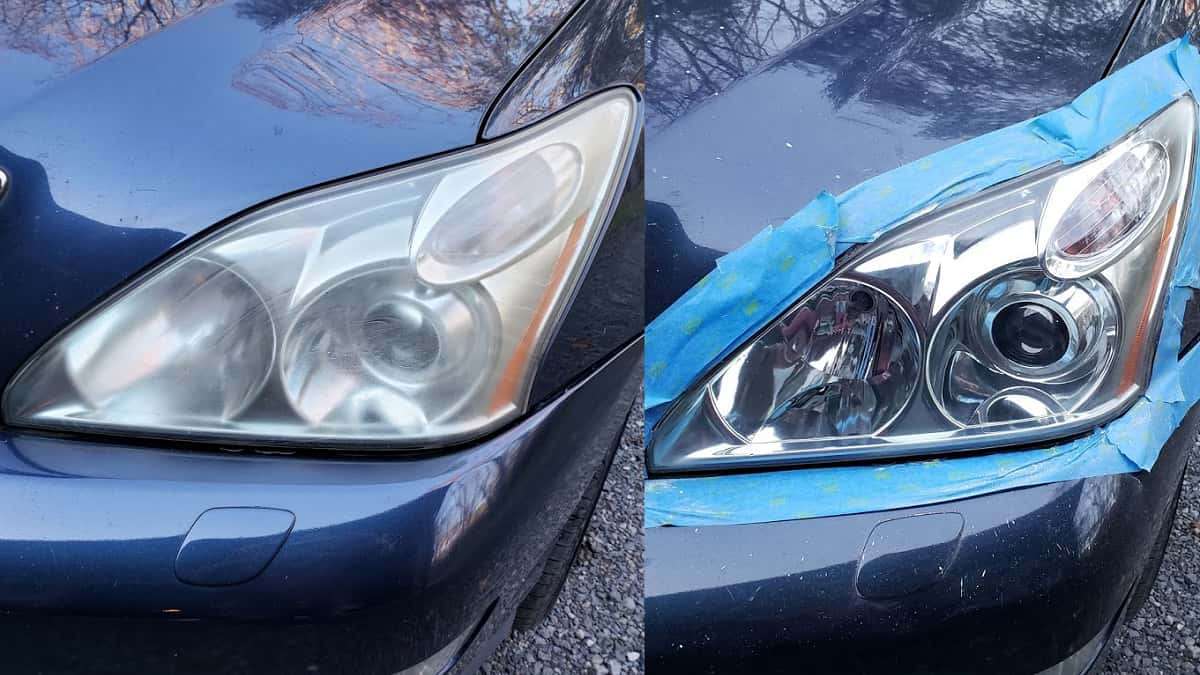

If your vehicle has cloudy faded yellow headlights you can easily and quickly restore them to new yourself. We restored the headlights of an older Lexus RX 330 and the results were amazing. Best of all, this result only cost us $25 and an hour of time. Here's how you do it.

Headlight Restoration - 3 Things You Need
In order to fully restore your cloudy yellow headlights to new, you need three things. First, a 3M kit that you can source online or at your local retailer. We paid $12.47 from Amazon.
Next, you need a spray can of headlight protectant. This is because the 3M kit does not include it. Last, you need a hand-held drill. A spray bottle with water is also helpful and you need a roll of painter's masking tape. So, we lied. You need five things!
Headlight Restoration - Safety
The process you are about to perform will result in a lot of polycarbonate dust to become airborne in your work area. We suggest wearing a dust mask. Safety glasses are always a good idea, but you will find they fog up when you also use the mask. You are also likely to be kneeling when you do the work, so a pad under your knee is not a bad idea.
Headlight Restoration - How To Do It
To get started, clean the headlights with soap and water and then dry them. Next, mask the headlights with the tape. You are going to be sanding those headlights and your hand is going to slip. If you don't mask them you will damage the paint of the vehicle. It takes one minute to mask the headlights and it does not have to be pretty.
Next, you follow the 3M kit's directions. You will find a rotary pad in the kit and a variety of sanding discs and a polishing disk. You start with the gold-colored disk. You will sand your headlights and they will get a lot more cloudy. Don't freak out. This is normal and necessary. After doing this a while you switch to the white sanding pad. Then you employ the wet sanding disc and water. Here is where the work starts to show promise. Following the wet sanding, you will use the polishing pad and the polishing compound provided. The headlights will then be crystal clear if you have followed the 3M directions carefully.
Headlight Restoration - Don't Skip This Last Step
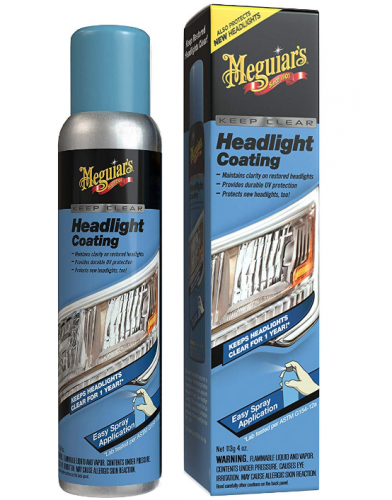
We've restored headlights in the past and stopped after the above steps only to have them then cloud up again in a matter of months. The reason is you remove all of the UV protection when you sand the headlights. So you need to put that back. The way is to use a spray like the McGuire's headlight protection spray we used. We bought it on Amazon for $8.44. Follow the instructions and safety warnings. Basically, you spray this lightly on the headlights, let it dry, repeat, and that's it.
Headlight Restoration - Tips
Here are a few things we have learned you may find helpful:
- Take your time on the sanding steps. Particularly step one. No need to rush, this is not a lengthy process.
- Plan to wash the vehicle the day after you restore the headlights. The car is going to get all covered in dust.
- When you spray the McGuires on, go light. Then, give it at least 10 minutes between the first and second applications. Do not touch the headlights while the spray is drying. It is worth "dusting" off the car before you do the spray.
- Take a before picture. It is the best way to really see just how great the restoration turns out.
Watch this step by step guide of how to clean and restore your yellow headlights and click to subscribe to Torque News Youtube channel for daily thought-provoking automotive news analysis.
If you have restored headlights and have any additional tips, please post them in the comments below.
In addition to covering green vehicle topics, John Goreham covers safety, technology, and new vehicle news at Torque News. You can follow John on Twitter at @johngoreham.
Set Torque News as Preferred Source on Google
Follow us today...


