
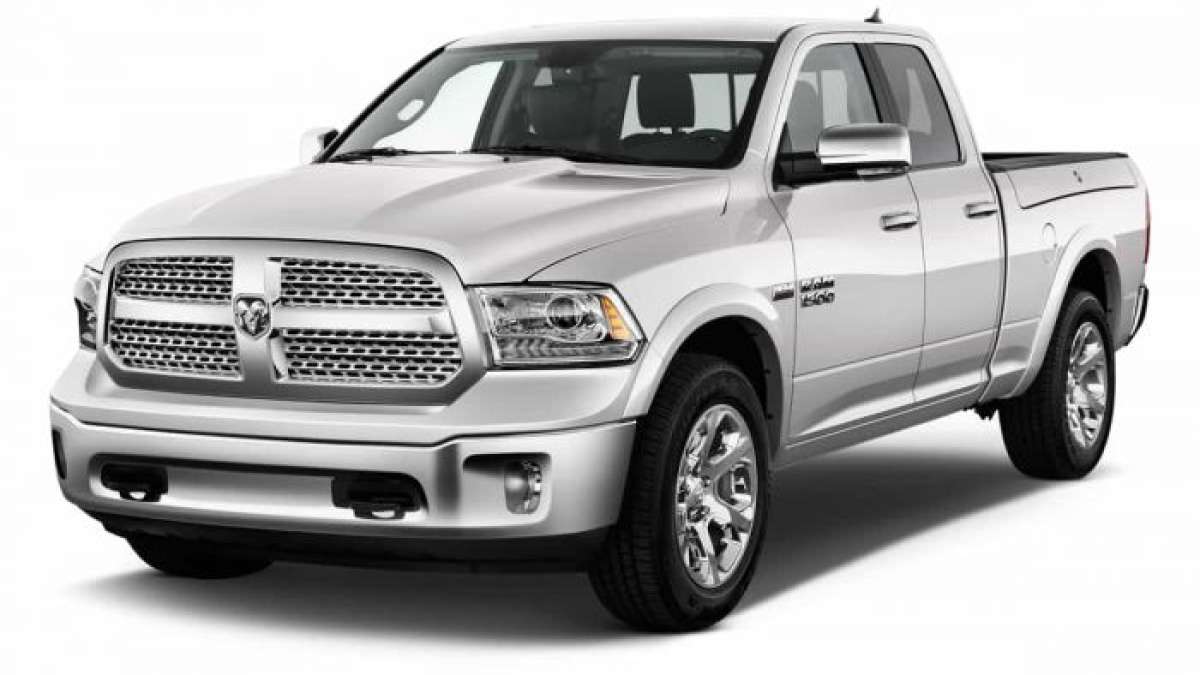

There is nothing better than the feeling you get after you wax or clear coat your vehicle! Owners love making their truck look like it is right off the showroom floor. The owner of a 2015 Ram 1500 reached out to a popular truck forum to get expert tips on installing or applying a clear bra to protect his truck for years.
Army, from Texas, writes, “Since I had my front end repainted, I am going to install a 3m Scotchguard pre-cut clear bra. I have experience installing thinks like vinyl wraps, window tint, etc. Anything different about working with clear vinyl I should know about?”
Be Prepared with a Soap and Alcohol Solution
Magna, from Toronto, offers the first and most important tip. “Yeah, make sure the new paint has been cured first.” At first it almost sounds like Magna is being sarcastic, but he isn’t. Making sure the paint is thoroughly dried and set is very important. Another owner replied, “Magna is right, make sure the paint is fully cured. If things start off-gassing during cure and there is clear bra over them, you'll get cloudy spots.”
Fastback, from Texas, says it is important to be prepared. “Use heat.” Big Horn, from Connecticut, has clearly done this before, he adds, “Careful with the heat gun....if you overheat and/or overstretch it (which is easy to do once it’s warmed up enough), you'll end up with lines and marks in the clear bra that look like something is on or under it, but was just the material thinning out. It doesn't seem to affect the protection (this happened on my G37 but by the time I saw it, it was too late), but on a dark color you can see the marks.”
Big Horn is the best when it comes to practical advice. He says: “1. Use a lot more slip spray than you think you'll need (slip spray is water + a few drops of Johnson and Johnson no-tears soap). I was never able to get the hood piece to just slide around like all the videos show. I’m guessing I would have been able to, had I used a ton more spray than I did.
2. Once it’s positioned where you want it, tack the piece down with the "stick" spray (water + isopopryl acohol...I forget the ratio, I want to say it’s something like 10% IPA). Just a "line" down the center with the alcohol spray, should spray off all of the slip spray and then activate the adhesive on the clear bra. Once activated, lay the clear bra back down and let it set.
3. Take your time stretching to each side of the center line. On the RAM it seems to go pretty easy, right up until you get to above the outer edge of the headlights. The "dip and sweep" line of the hood becomes a PITA to work with at that point. It can be done, it just takes time and patience.”
Big Horn is definitely speaking from experience, he adds, “My problem occurred when I didn’t stick to #1: I tacked down at one of the "dip and sweep" lines, so when I went to finish the other side, the bra piece was about 1/2" too far forward compared to the side I started with. It’s hard to tell now that it’s done, but I know it’s there. Someday I might buy another hood piece and redo it.”
Help the Wrap Set to get any Flaws Out
Mills, also has a great suggestion about what to do after you have applied it. “Once you have it installed, park it in direct sunlight for 3 or 4 days, all day. It's amazing how well it will flatten out/get rid of bubbles.”
Army appreciated all the input, especially Big Horn’s. “I went ahead and put it on. I’m going to have to replace the hood piece as that was a hard one. All the others turned out ok though.”
Army used a 3M product, other owners suggested buying different brands, because they were less likely to crack or yellow over time. The two brands that they recommended most were Xpel or SunTek.
Set Torque News as Preferred Source on Google
Follow us today...


