

Each winter, our local governments spend billions of dollars on road salt and sand. Smithsonian says that the total is over 222 million tons of salt alone each year. That's about 137 pounds for each of us here in the U.S. Aside from eating our cars, road sand and salt pepper the front ends and sides of our vehicles. The result is a slew of small chips and dings that can penetrate all the way through the paint and clear coat layers and expose bare metal, which can then rust. You can prevent that from happening for about $15.
Touch-up Paint Repair - Preparation
You are going to need one small touch-up paint kit from your car's dealership or a color-matched aftermarket product, a few minutes of time, and the willpower to resist the urge to do the whole fix in one step.
The touch-up paint sold by most manufacturers is good for two types of repairs. First, there is a pen tip similar to a ball point pen that you can use to fill in scratches. Second, there is a brush much like that in a bottle of fingernail polish that is ideal for dabbing on chips. However, there may be a couple steps before you start with the paint.
Touch-up Paint Repair - Rust Removal
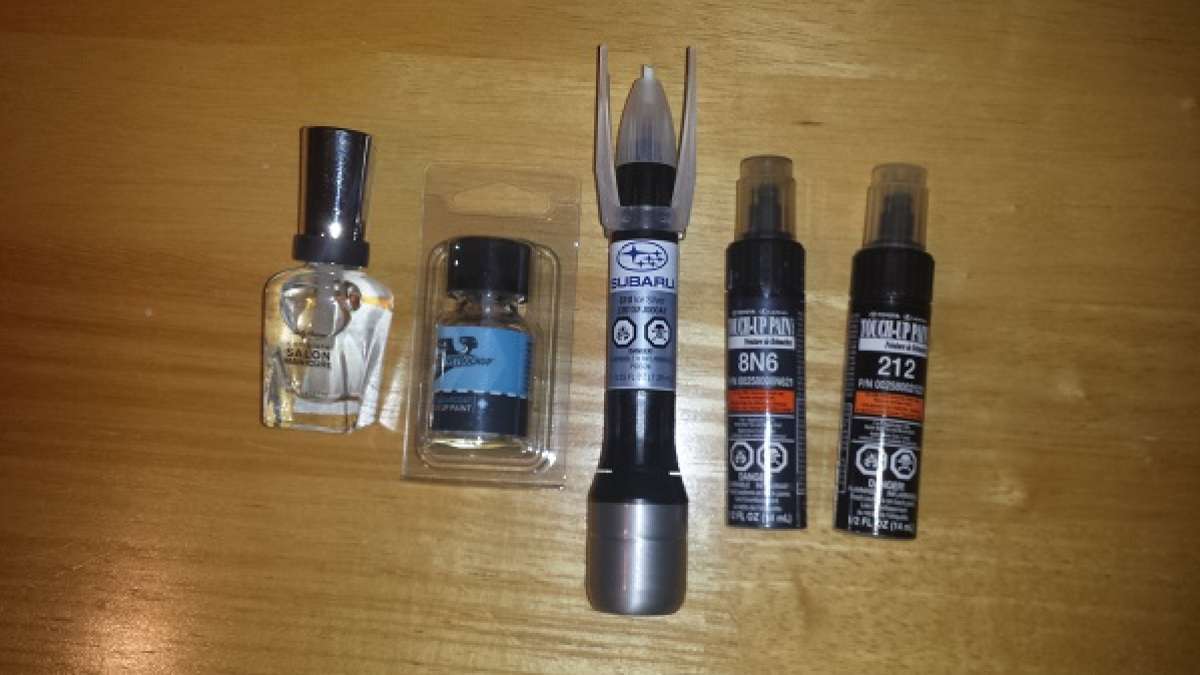
Look first to see if the chip has started to rust under the chip. If it has you should try to scratch that rust off with an Exacto knife or similar instrument without taking away more paint. A bit of fine sandpaper on the tip of a blunt pencil may work. Notice the odd Subaru paint dispenser in our image. At the top, it has an abrasive tip for just this purpose.
Applying Touch-up Paint
Once any rust is gone, gently clean the area with a bit of rubbing alcohol to remove any wax or dirt that may prevent the paint from adhering properly. Let it dry away. Now you can apply the paint. This is the most important part and where the patience comes in. If you are planning to dab some paint into a roundish hole, use less than you need to fill it up. Do so and let it dry overnight. Then, apply another second dab. If the chip is deep or to the metal use three steps to build up the paint in the hole. If you plop a big dab of paint in the hole and walk away, you will find that when that large drop dries it will look uneven and may wrinkle. Build up the levels and a better result is usually the result.
An Added Step For the Brave
Once you have repaired the various holes, chips and scratches let the car dry for at least a day or two before re-washing or waxing. The video below shows an additional step that those with some bravery may wish to attempt. (video is on page 2)
Set Torque News as Preferred Source on Google
Follow us today...


